간단 가이드
이 안내서는 SDK를 설치하고 초기화 하는 방법을 보여줍니다.
SDK는 AndroidStudio를 통한 탑재 방법을 지원하며 단말기가 푸시 알림을 수신받고 서버에 사용자의 정보를 동기화 할 수 있도록 지원합니다.
Step 1. SDK 설치하기
- SDK는
.aar 파일의 형태로 제공됩니다.
어플리케이션이 Android X 용으로 빌드 될 경우 APMSX SDK를 사용해야 하며 그렇지 않을 경우 APMS SDK를 사용해야 합니다.
이 두 가지 SDK 중 반드시 하나를 선택하여 추가해야 합니다.
org.eclipse.paho.client.mqttv3-1.2.0(mlog) 파일의 경우 Private 서비스를 사용하는 사용자에게 필요하며 사용하지 않을 경우 추가하지 않아도 무방합니다. 관련된 내용은 통합가이드의 Private 서비스 활성화시키기를 참고하여 주시기 바랍니다.
SDK_Android_APMS_xxx.aar : SDK를 사용하기 위한 라이브러리 파일SDK_Android_APMSX_xxx.aar : SDK를 사용하기 위한 Android X 대응 전용 라이브러리 파일org.eclipse.paho.client.mqttv3-1.2.0(mlog).jar : Private 서비스 활성화시 필요한 라이브러리 파일
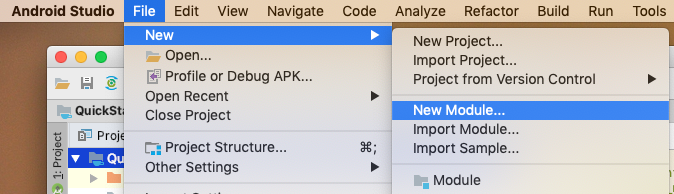
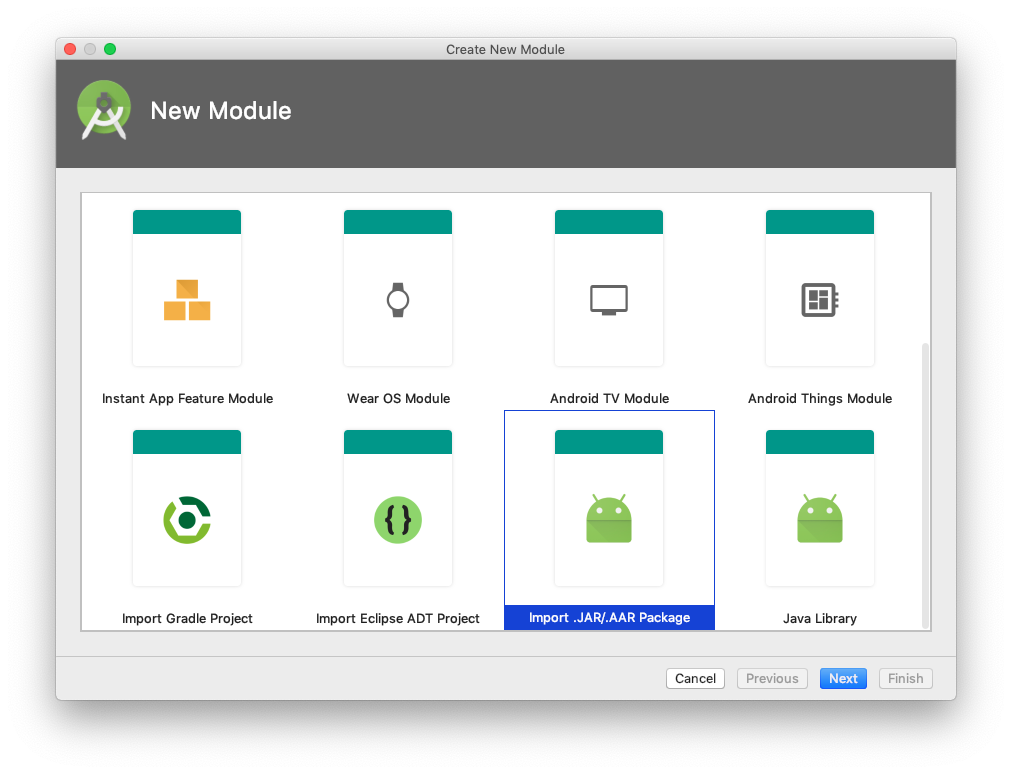
상단 메뉴에서 File/New/New Module을 클릭합니다.
팝업 창에서 import .JAR/.AAR Package를 선택한 후 Next를 클릭합니다.
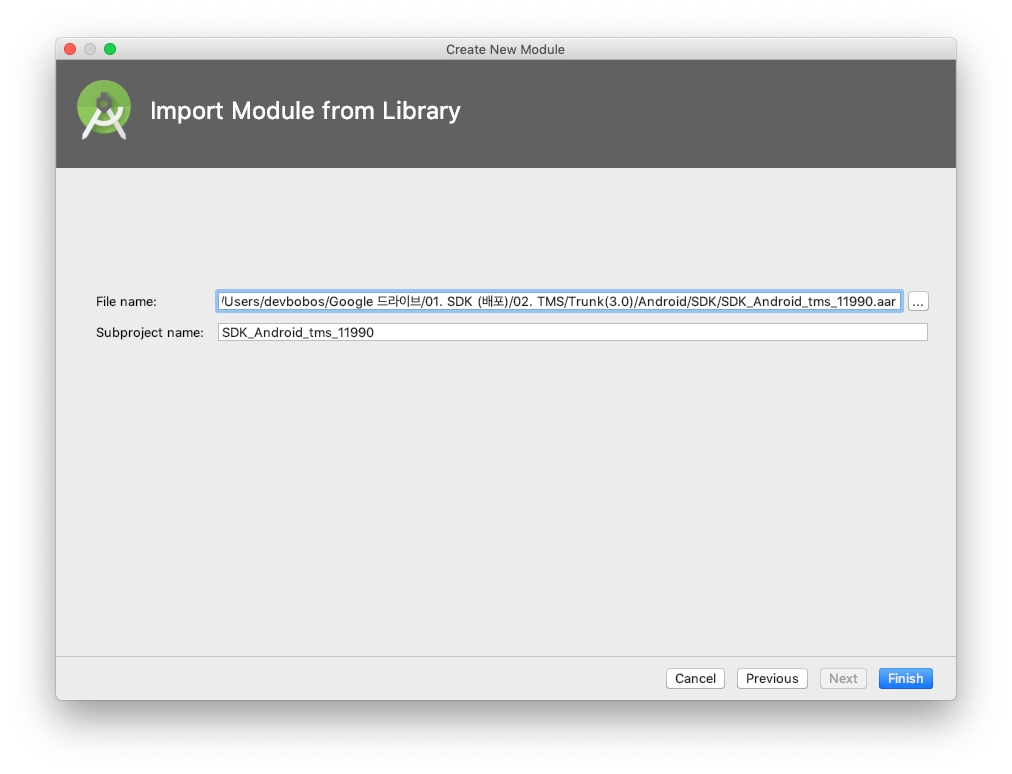
추가할 .aar 파일을 선택한 후 Finish를 클릭합니다.
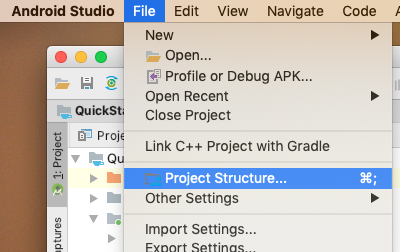
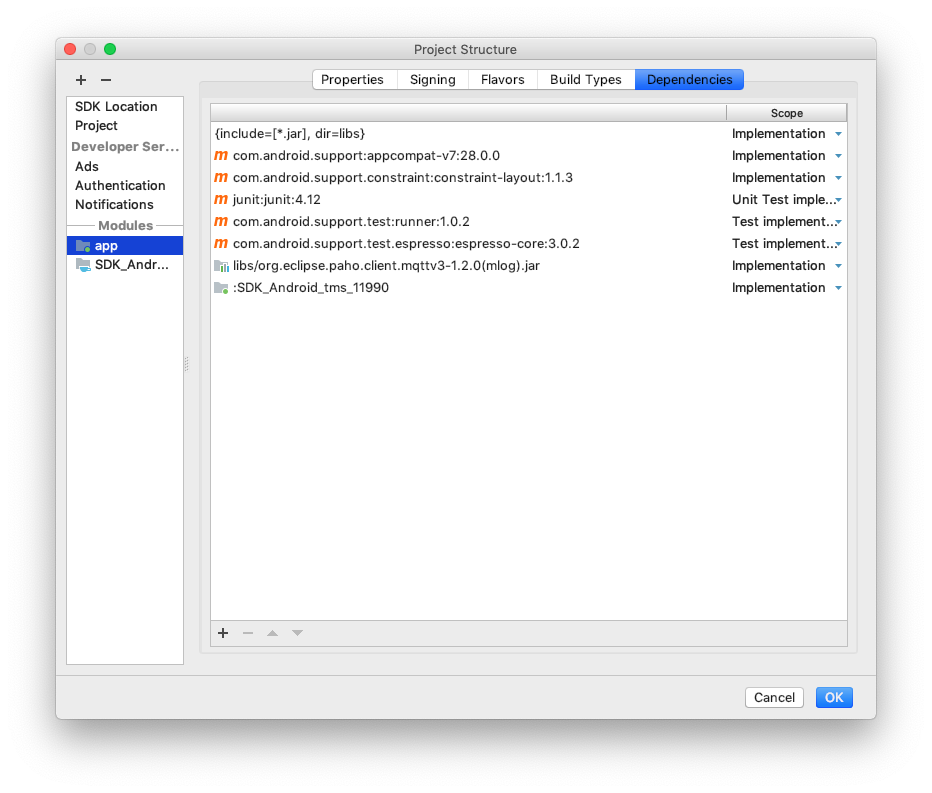
Android 프로젝트의 Build Sync가 완료되면 상단 메뉴에서 File/Project Structure...을 클릭합니다.
어플리케이션에서 +를 클릭하여 .aar 파일을 선택하고 OK를 클릭합니다.
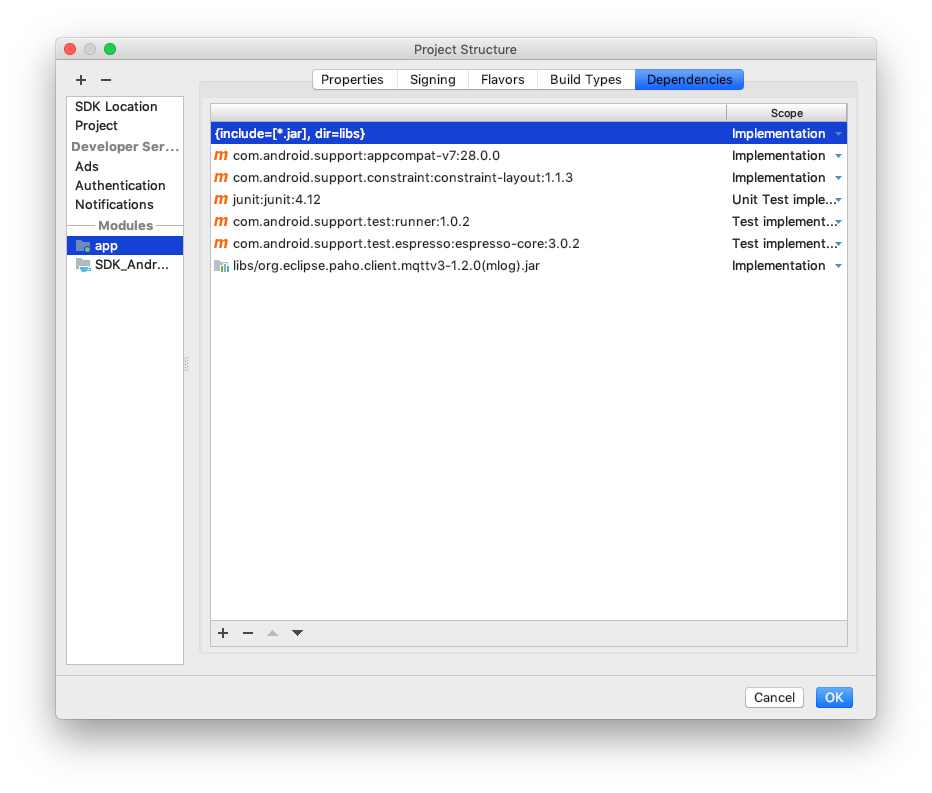
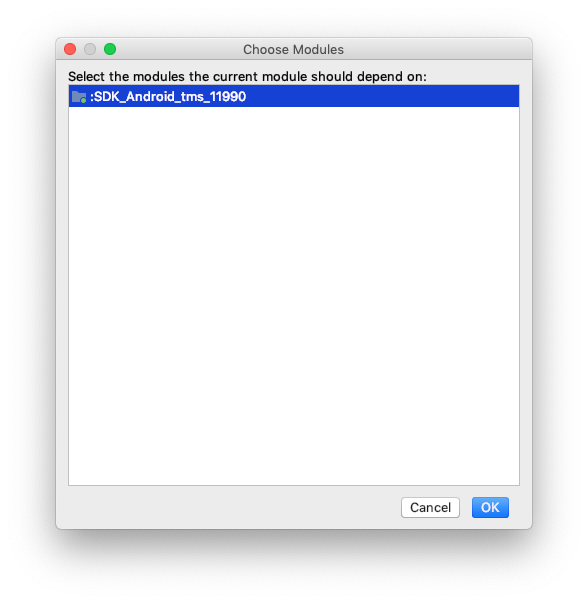
.aar 파일의 추가가 완료되었습니다.
Step 2. Volley 라이브러리 추가하기
- 기존 Volley 라이브러리는 Jar 파일로 제공되었으나 의존성을 추가하는 방식으로 변경되었습니다.
- 만약 libs 폴더에 기존에 사용하고 계시던 Volley 라이브러리가 있을 경우 삭제하고 의존성 추가로 대체하여 주시기 바랍니다.
- 최신 라이브러리를 적용해주시기 바라며 최신 버전에 대한 정보는 해당 링크를 참고하여 주시기 바랍니다.
- 어플리케이션의 build.gradle 파일에 Volley 라이브러리의 의존성을 추가하여 주시기 바랍니다.
dependencies {
    ...
    implementation 'com.android.volley:volley:1.1.1' //최신버전 적용 권장
}
Step 3. FirebaseMessaging 적용하기
buildscript {
    // ...
    dependencies {
        // ...
        classpath 'com.google.gms:google-services:4.1.0' //구글 서비스 플러그인
    }
}

allprojects {
    // ...
    repositories {
        google() // Google의 Maven 리포지터리
        // ...
    }
}
- 어플리케이션의 build.gradle 파일에 FirebaseMessaging 라이브러리의 의존성을 추가하여 주시기 바랍니다.
- 최신 라이브러리를 적용해주시기 바라며 최신 버전에 대한 정보는 해당 링크를 참고하여 주시기 바랍니다.
com.android.support:support-v4 라이브러리는 반드시 26.1.0 버전 이상이여야 합니다.com.android.support:appcompat-v7 라이브러리는 반드시 26.1.0 버전 이상이여야 합니다.
dependencies {
    ...
    implementation 'com.google.firebase:firebase-core:16.0.5'
    implementation 'com.google.firebase:firebase-messaging:17.3.4'
    implementation 'com.android.support:support-v4:26.1.0'
    implementation 'com.android.support:appcompat-v7:26.1.0'
}

// 맨 밑에 Google 서비스 적용 코드를 삽입하여야 합니다.
apply plugin: 'com.google.gms.google-services'
Step 4. AndroidManifest.xml 수정하기
- 어플리케이션의 AndroidManifest에 다음의 권한을 추가합니다.
Private 서비스를 사용할 경우 추가 권한이 필요합니다. 상세 가이드의 Private 서비스 활성화시키기를 참고하여 주시기 바랍니다.
<uses-permission android:name="android.permission.GET_TASKS"/>
<uses-permission android:name="android.permission.INTERNET"/>
<uses-permission android:name="android.permission.ACCESS_NETWORK_STATE"/>
<uses-permission android:name="android.permission.ACCESS_WIFI_STATE"/>
- FCM의 토큰과 메시지 수신을 위하여 다음의 코드를 추가합니다.
<receiver
    android:name="com.apms.sdk.push.PushReceiver"
    exported="false">
    <intent-filter>
        <action android:name="com.google.android.fcm.intent.RECEIVE"/>
        <action android:name="org.mosquitto.android.mqtt.MSGRECVD"/>
    </intent-filter>
</receiver>
<service
    android:name="com.apms.sdk.push.FCMPushService">
    <intent-filter>
        <action android:name="com.google.firebase.MESSAGING_EVENT"/>
    </intent-filter>
</service>
<uses-library android:name="org.apache.http.legacy" android:required="false"/>
Step 5. 소스코드상에 SDK 적용하기
protected void onCreate(Bundle savedInstanceState)
{
super.onCreate(savedInstanceState);
//SDK 설정
APMS sdk = new APMS.Builder()
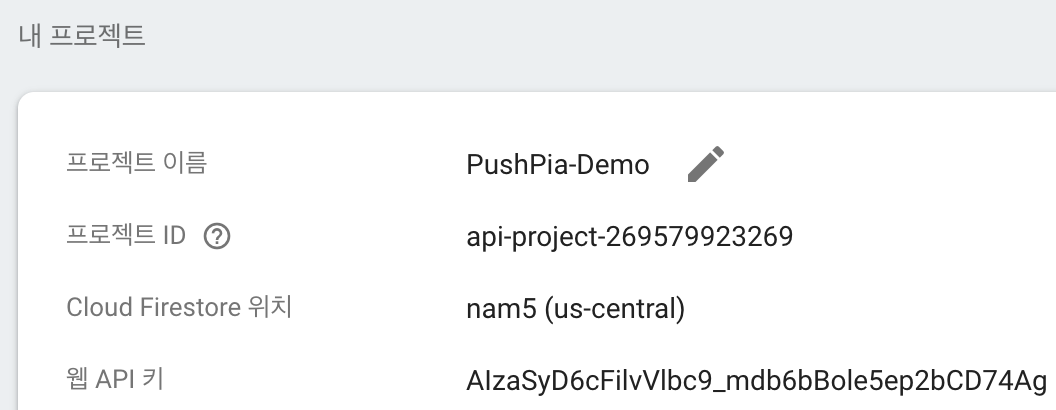
.setFirebaseSenderId("997255892867")
.setServerAppKey("402f4c2a26364e991573")
.setServerUrl("https://api.pushpia.com:444/")
.setNotificationConfig(
new NotificationConfig.Builder()
.setSmallIcon(R.drawable.ic_notifications_black_24dp)
.create()
)
.build(getApplicationContext());
//DeviceCert API 호출
new DeviceCert(getApplicationContext()).request(null, new APIManager.APICallback() {
@Override
public void response(String code, JSONObject json)
{
...
}
});
//SetConfig API 호출
...
}
Step 6. 마무리 하기
- 이제 SDK에 대한 기본 설정이 마무리되었으며 푸시 수신이 가능합니다. 세부 설정은 다음의 문서를 참고하여 주시기 바랍니다.